# 1、在 Visual Studio 2017 中创建新项目
- “文件”>“新建”>“项目”
- 从左侧菜单中选择“已安装”>“模板”>“Visual C#”>“.NET Core”。
- 选择“ASP.NET Core Web 应用程序”。
- 输入“EFGetStarted.AspNetCore.NewDb”作为名称,然后单击“确定”。
- 在“新建 ASP.NET Core Web 应用程序”对话框中:
- 确保在下拉列表中选择“.NET Core”和“ASP.NET Core 2.0”选项
- 选择“Web 应用程序(模型视图控制器)”项目模板
- 确保将“身份验证”设置为“无身份验证”
- 单击“确定”
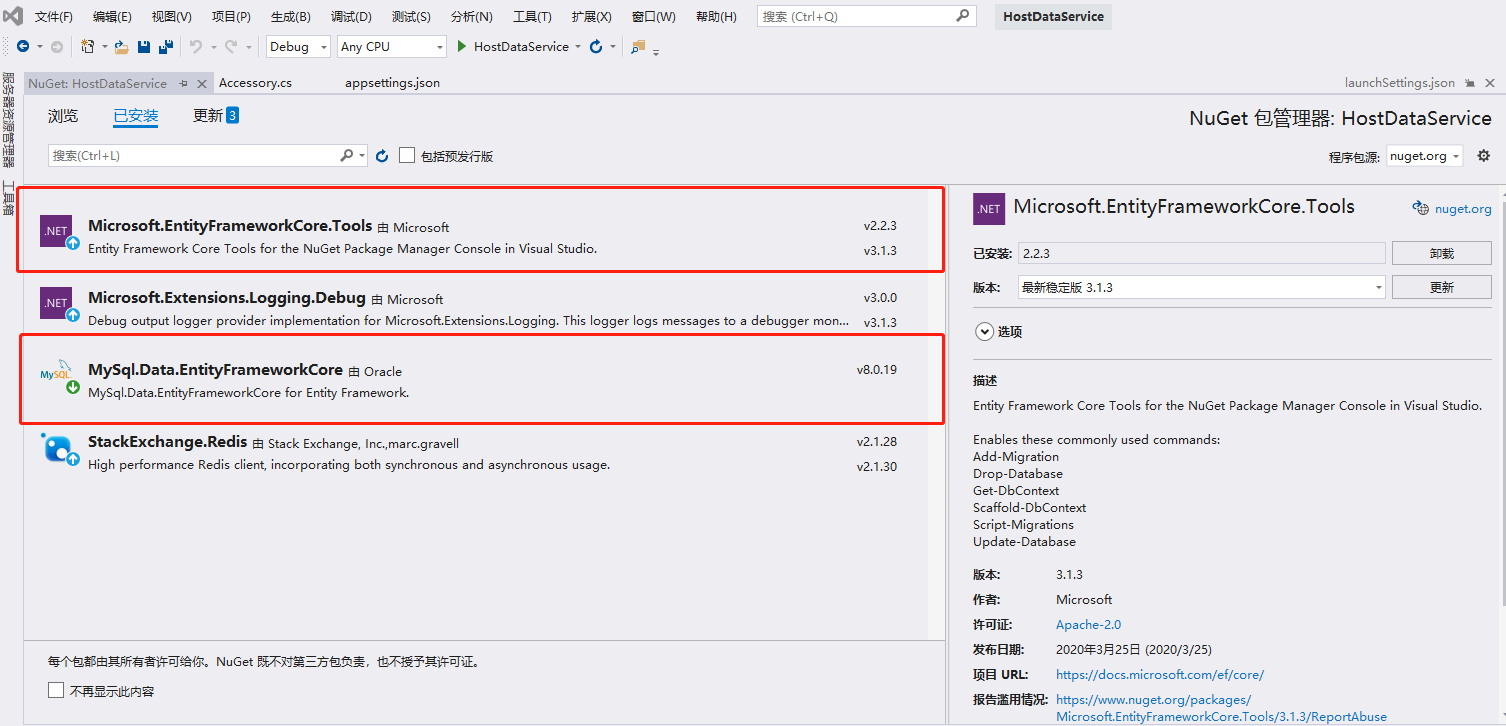
# 2、安装 Entity Framework Core
工具”>“NuGet 包管理器”>“包管理器控制台”
# 1.安装数据库提供程序
MsSql
运行:Install-Package Microsoft.EntityFrameworkCore.SqlServer
MySql
运行:
柚子:Install-Package Pomelo.EntityFrameworkCore.MySql
或者
官方:Install-Package MySql.Data.EntityFrameworkCore -Version 8.0.11
1
2
3
4
5
6
7
2
3
4
5
6
7
# 2.安装程序包管理器控制台
==运行:Install-Package Microsoft.EntityFrameworkCore.Tools==
# 3.安装设计包
运行:Install-Package Microsoft.EntityFrameworkCore.Design
数据据库提供程序设计包 (EF Core 2.0 不再需要)
MsSql
运行:Install-Package Microsoft.EntityFrameworkCore.SqlServer.Design
MySql
运行:Install-Package Pomelo.EntityFrameworkCore.MySql.Design
1
2
3
4
5
6
2
3
4
5
6
随着官方版本的更新,可能会出现报错,在此我展示我使用的版本。
# DB First——从现有数据库创建模型
MySql
运行:Scaffold-DbContext -Connection "server=111.231.132.***;port=3306;uid=ymj;pwd=******;database=test;charset=utf8;sslmode=none;" -Provider "MySql.Data.EntityFrameworkCore" -OutputDir "Models"

MsSql
运行:Scaffold-DbContext -Connection "server=111.231.132.***;port=3306;uid=ymj;pwd=******;database=test;charset=utf8;sslmode=none;" -Provider "Microsoft.EntityFrameworkCore.SqlServer" -OutputDir "Models"
1
2
3
4
5
2
3
4
5
从数据库更新DbContext和实体的类型
Scaffold-DbContext
-Connection <String>	数据库的连接字符串。
-Provider <String>	要使用的提供程序。 (例如 Microsoft.EntityFrameworkCore.SqlServer)
-OutputDir <String >	要将文件放入的目录。 路径是相对于项目目录。
-Context <String >	若要生成的 dbcontext 名称。
-Schemas <String[]>	要生成实体类型的表架构。
-Tables <String[]>	要生成实体类型的表。
-DataAnnotations	使用属性来配置该模型 (如果可能)。 如果省略,则使用仅 fluent API。
-UseDatabaseNames	使用直接从数据库表和列名称。
-Force 覆盖现有文件。

从迁移中生成的 SQL 脚本
Script-Migration
-From <String>	开始迁移。 默认值为 0 (初始数据库)
-To <String>	结束的迁移。 默认到最后一个迁移
-Idempotent	生成可以在任何迁移的数据库使用的脚本
-Output <String>	要将结果写入的文件
1
2
3
4
5
6
7
8
9
10
11
12
13
14
15
16
17
18
2
3
4
5
6
7
8
9
10
11
12
13
14
15
16
17
18
# Code First——从模型生成到数据库
# 1、创建模型
namespace Model
{
    public class SchoolContext : DbContext
    {
        public SchoolContext(DbContextOptions<SchoolContext> options) : base(options)
        {
        }

        public DbSet<Course> Courses { get; set; }
        public DbSet<Enrollment> Enrollments { get; set; }
        public DbSet<Student> Students { get; set; }

        protected override void OnModelCreating(ModelBuilder modelBuilder)
        {
            modelBuilder.Entity<Course>().ToTable("Course");
            modelBuilder.Entity<Enrollment>().ToTable("Enrollment");
            modelBuilder.Entity<Student>().ToTable("Student");
        }
    }
    public class Student
    {
        public int ID { get; set; }
        public string LastName { get; set; }
        public string FirstMidName { get; set; }
        public DateTime EnrollmentDate { get; set; }

        public ICollection<Enrollment> Enrollments { get; set; }
    }
    public enum Grade
    {
        A, B, C, D, F
    }

    public class Enrollment
    {
        public int EnrollmentID { get; set; }
        public int CourseID { get; set; }
        public int StudentID { get; set; }
        public Grade? Grade { get; set; }

        public Course Course { get; set; }
        public Student Student { get; set; }
    }

    public class Course
    {
        [DatabaseGenerated(DatabaseGeneratedOption.None)]
        public int CourseID { get; set; }
        public string Title { get; set; }
        public int Credits { get; set; }

        public ICollection<Enrollment> Enrollments { get; set; }
    }
}
1
2
3
4
5
6
7
8
9
10
11
12
13
14
15
16
17
18
19
20
21
22
23
24
25
26
27
28
29
30
31
32
33
34
35
36
37
38
39
40
41
42
43
44
45
46
47
48
49
50
51
52
53
54
2
3
4
5
6
7
8
9
10
11
12
13
14
15
16
17
18
19
20
21
22
23
24
25
26
27
28
29
30
31
32
33
34
35
36
37
38
39
40
41
42
43
44
45
46
47
48
49
50
51
52
53
54
# 1.2、Startup文件注入上下文
EF Core在版本 2.0 中,引入了一种在依赖关系注入中注册自定义 DbContext 类型的新方法,即以透明形式引入可重用 DbContext 实例的池。 要使用 DbContext 池,请在服务注册期间使用 AddDbContextPool 而不是 AddDbContext
public void ConfigureServices(IServiceCollection services)
{
services.AddDbContextPool<SchoolContext>(options =>
options.UseMySql(Configuration.GetConnectionString("DefaultConnection")));

services.AddMvc().AddJsonOptions(options =>
options.SerializerSettings.ReferenceLoopHandling = Newtonsoft.Json.ReferenceLoopHandling.Ignore);
}
1
2
3
4
5
6
7
8
2
3
4
5
6
7
8
# 1.3、appsettings.json文件添加连接字符串
{
  "ConnectionStrings": {
    "test": "server=111.231.132.***;port=3306;uid=ymj;pwd=******;database=test;charset=utf8;sslmode=none;"
  },
  "Logging": {
    "LogLevel": {
      "Default": "Warning"
    }
  },
  "AllowedHosts": "*"
}
1
2
3
4
5
6
7
8
9
10
11
2
3
4
5
6
7
8
9
10
11
2.1、为迁移搭建基架

运行:Add-Migration InitialCreate

2.2、将新迁移应用到数据库

运行:Update-Database

EF Core 2.0 NuGet命令

Get-Help about_EntityFrameworkCore 获取EF Core命令帮助

添加一个迁移数据库 迁移的名称 目录(及其子命名空间)路径是相对于项目目录。 默认值为"Migrations"。
Add-Migration -Name <String> -OutputDir <String>
Add-Migration InitialCreate 第一次执行初始化用这个

删除上次的迁移数据库 不检查以查看迁移是否已应用到数据库。
Remove-Migration -Force

目标迁移。 如果为"0",将恢复所有迁移。 默认到最后一个迁移。
Update-Database
Update-Database LastGoodMigration 还原迁移

删除数据库 显示的数据库会被丢弃,但没有删除它
Drop-Database -WhatIf

Get-DbContext 获取有关 DbContext 类型的信息
1
2
3
4
5
6
7
8
9
10
11
12
13
14
15
16
17
18
19
20
21
22
23
24
25
26
27
2
3
4
5
6
7
8
9
10
11
12
13
14
15
16
17
18
19
20
21
22
23
24
25
26
27
冷门EF语句 →